#06
recycling / keeping / decorating
KINTSUGI
Japan
about kintsugi:
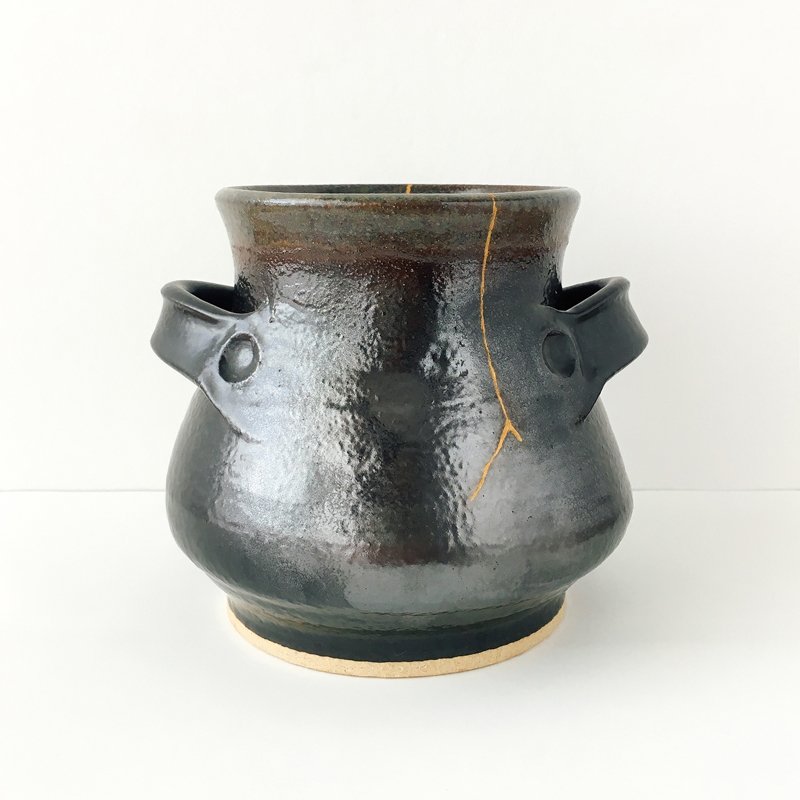
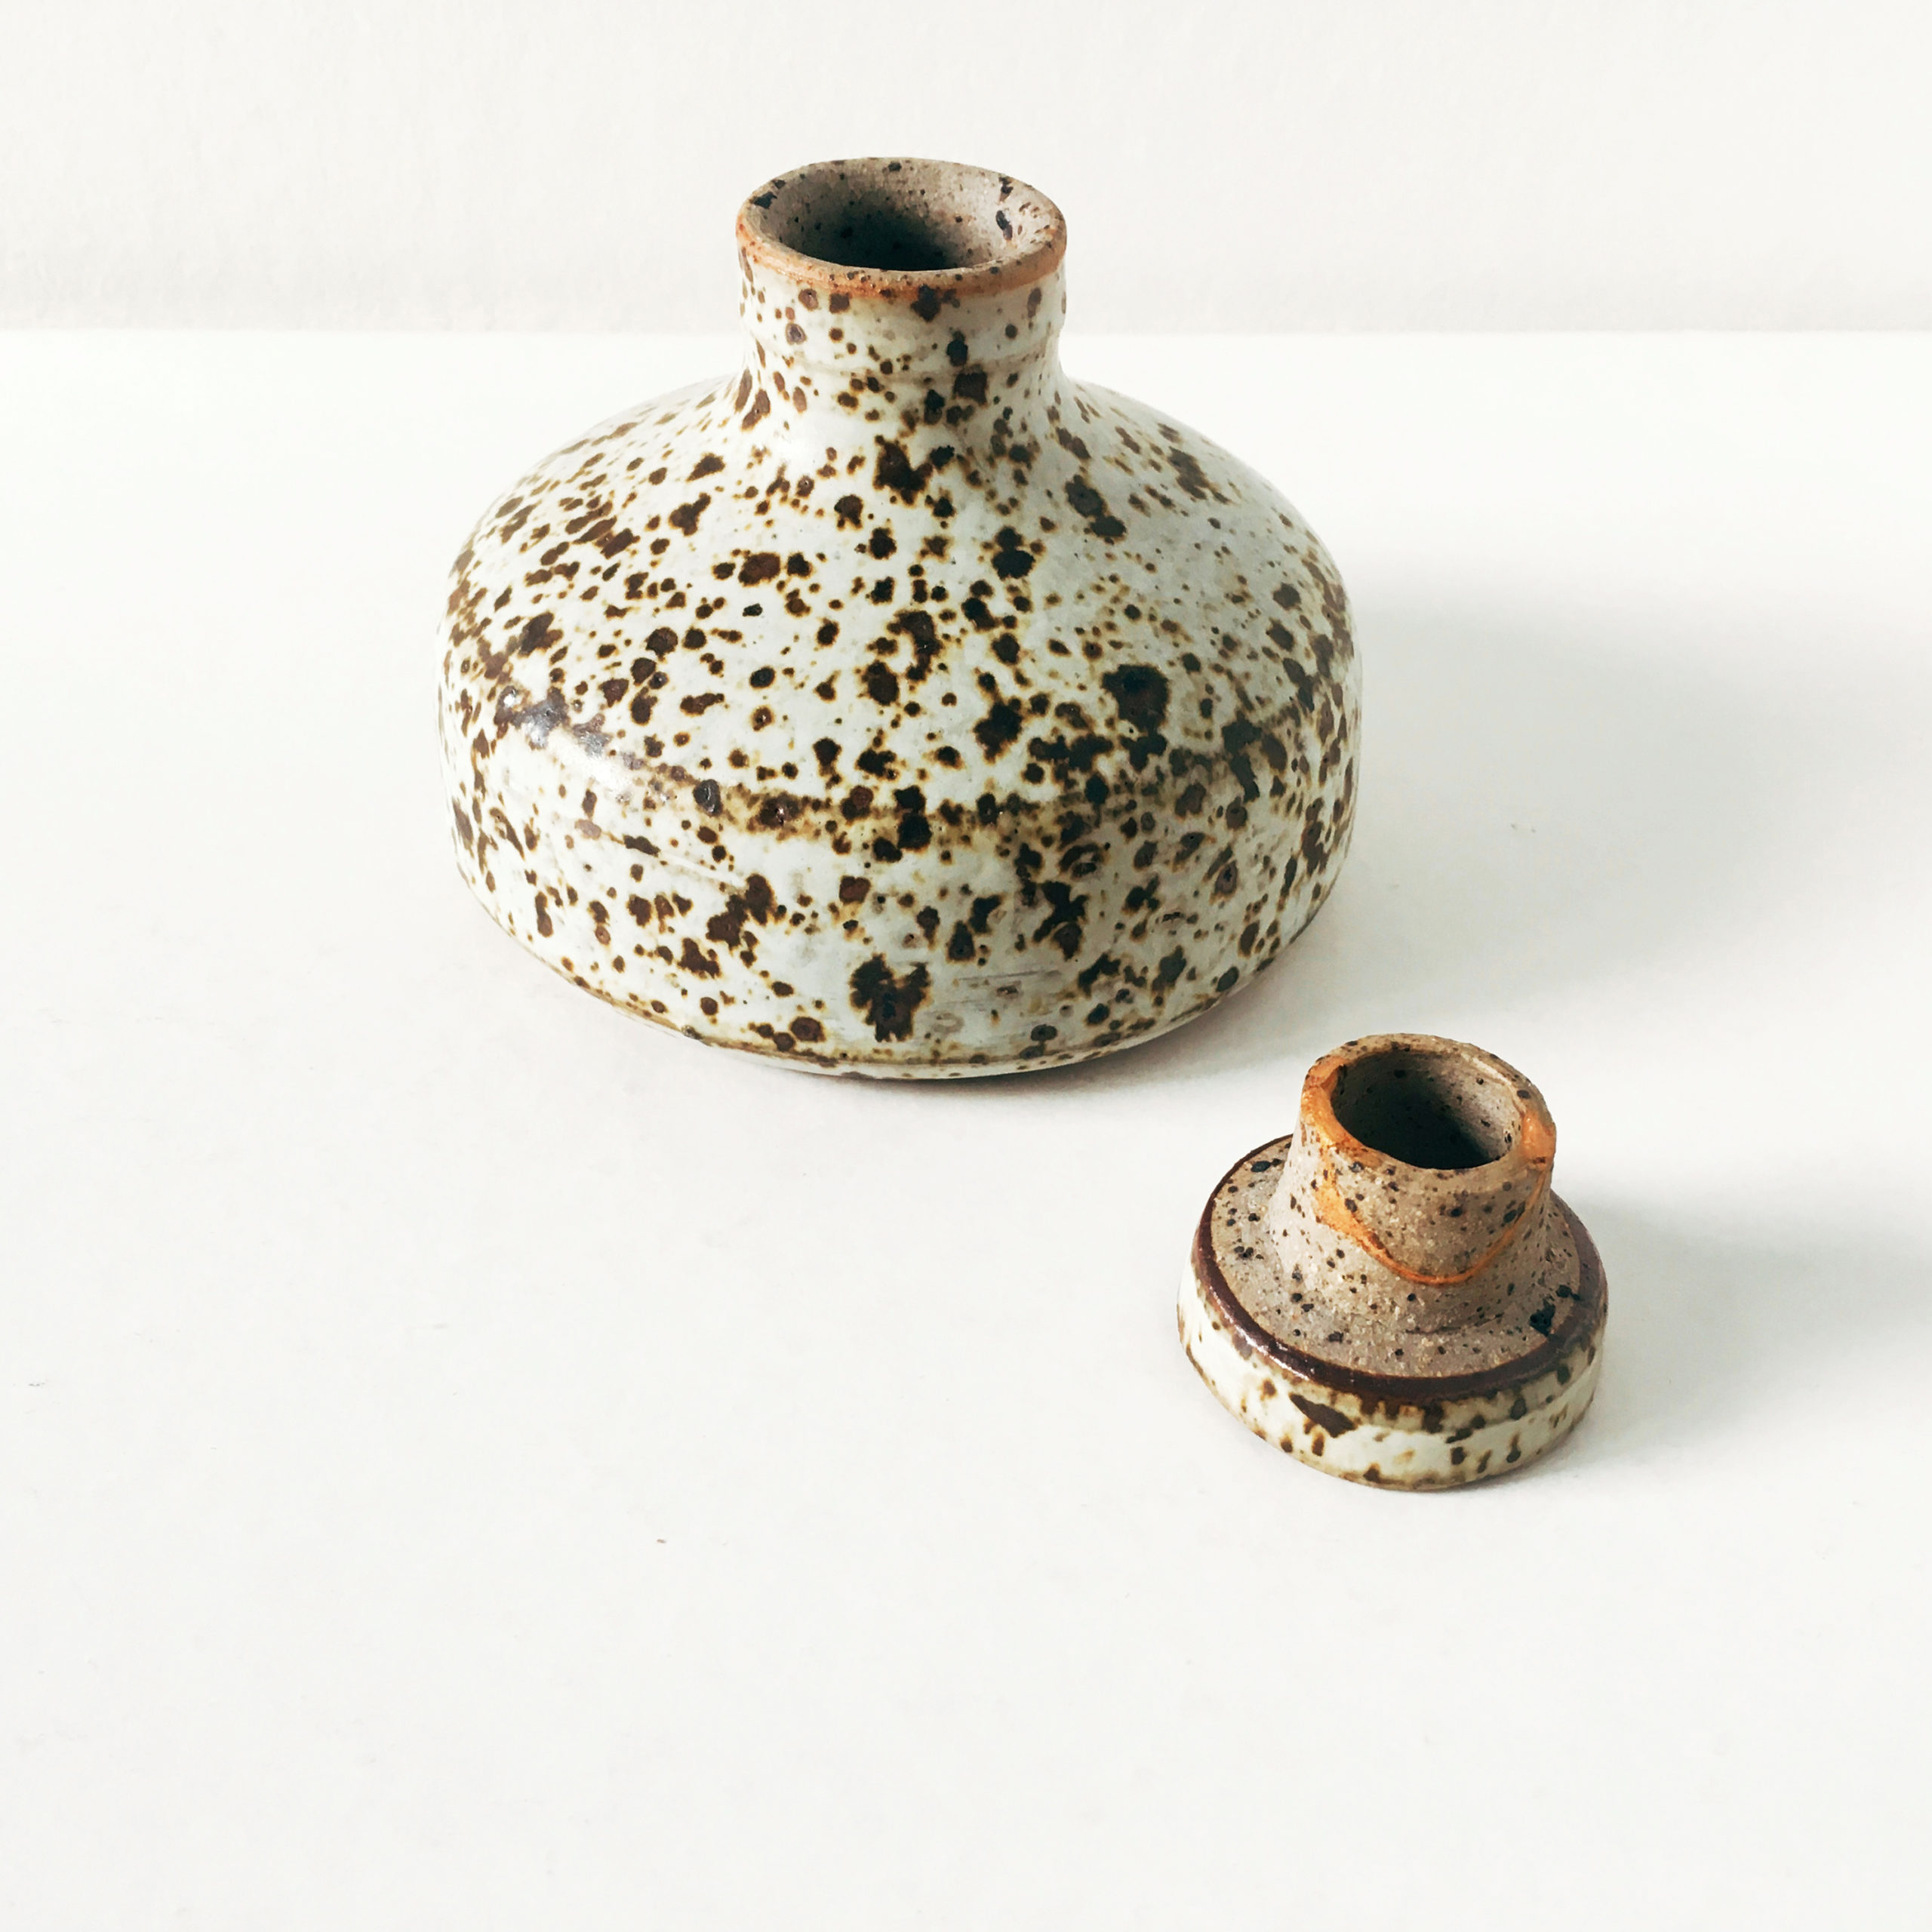
Kintsugi is a traditional Japanese technique to repair cracked or chipped pottery (bowls) with seams of natural materials such as lacquer and gold dust.
Through this techniques, you can enjoy using your broken pottery again, and the new appearance of the pottery seamed with kintsugi will create an even deeper attachment -- as if you've nurtured it back to life.
Because pottery can be repaired with kintsugi, you can use your favourite pieces every day instead of hiding them at the back of the cupboard for safekeeping.
With the reassurance that kintsugi provides, you could even take the plunge and purchase the pottery that you have been longing for.
history:
The history of kintsugi can be traced back as far as the Jōmon period (c.14,000–300 BCE), when it was used to repair everyday objects.
Through the influence of the tea ceremony, pottery seamed with gold dust became regarded for its artistic value in the Muromachi period (1336-1573).
Nowadays, Kintsugi is becoming more accessible through casual workshops and kintsugi repair kits that are readily available in stores.
Through the influence of the tea ceremony, pottery seamed with gold dust became regarded for its artistic value in the Muromachi period (1336-1573).
Nowadays, Kintsugi is becoming more accessible through casual workshops and kintsugi repair kits that are readily available in stores.
about urushi lacquer:
Urushi lacquer is an essential material for kintsugi and is used for almost all processes. It is used as a base coating as well as for protection, and it can also be used as a putty or adhesive when mixed with flour.
Although the sap of the urushi lacquer tree has been known to cause allergic reactions if it comes in direct contact with the skin, it is a safe natural material that becomes hard when dried, is resistant to acids and alkalis, heat and humidity, and has antibacterial properties. In addition to the traditional kintsugi made with natural lacquer (hon-urushi) that is introduced here, simple and more affordable kintsugi that utilises synthetic resin is also available these days.
Read more about Urushi > URUSHI LACQUERWARE
materials:
Clear Urushi Lacquer, Red Iron Oxide Urushi Lacquer, Flour, Wood Flour, Kokuso Powder, Polishing Powder, Cotton, Gold Powder, Spatula, Cutter, Sandstone, File, Brush, Oil, Glass Plate, Rubber Gloves, Masking Tape
kintsugi process:
Repairing Cracks
(For large chips, skip steps 2 & 3. For small chips or cracks, skip steps 2-5.)
1. Urushi Katame [Base Coat]
Apply clear urushi lacquer to the broken surface, then dry in a hot and humid room -- the ideal conditions for drying urushi lacquer.
2. Mugi Urushi Bond [Glue]
Mix flour and clear urushi lacquer to make a thick paste, and glue the broken pieces together. Leave to dry.
3. Scrape off any excess mugi urushi.
4. Kokuso Filling [Putty]
Mix wood flour and kokuso powder with clear urushi lacquer to make kokuso lacquer. Repair any chipped areas with putty, then leave to dry.
5. Scrape off any excess kokuso lacquer, then sand into shape with a sandstone.
6. Sabi Urushi Bond [Paste]
Mix polishing powder and clear lacquer to make sabi urushi and apply it thinly. Leave to dry. *
7. Sabitogi [Polishing]
Polish with sandstone to make the surface smooth. *
8. Base Coating [Base]
Apply a thin layer of red iron oxide urushi lacquer.
9. Kinmaki [Finishing]
Sprinkle gold powder onto cotton and then pat the powder into the wet urushi lacquer.
10. Polishing: Polish the gold powder with agate to enhance its shiny luster.
* Repeat the whole process above to give strength to the repaired parts or to repair large pieces.
It does not take much time to do each step in the process, however the complete process will require at least a few days to two weeks for the urushi lacquer to dry in a hot and humid room. Therefore, depending on the type of repair, some pieces may take a couple of months to complete. As you carefully do each step, you will feel your anticipation build for the next stage in the process.
(...)
(-)


